Step 1. Understanding the Challenge & Finding Solution
The first step is always for us to listen you and your ideas. We focus on client’s needs and requirements & understanding business challenges, including budgets. Listening & understanding allows to tailor solutions specifically with your project in mind.
Step 2. Define Your Aim
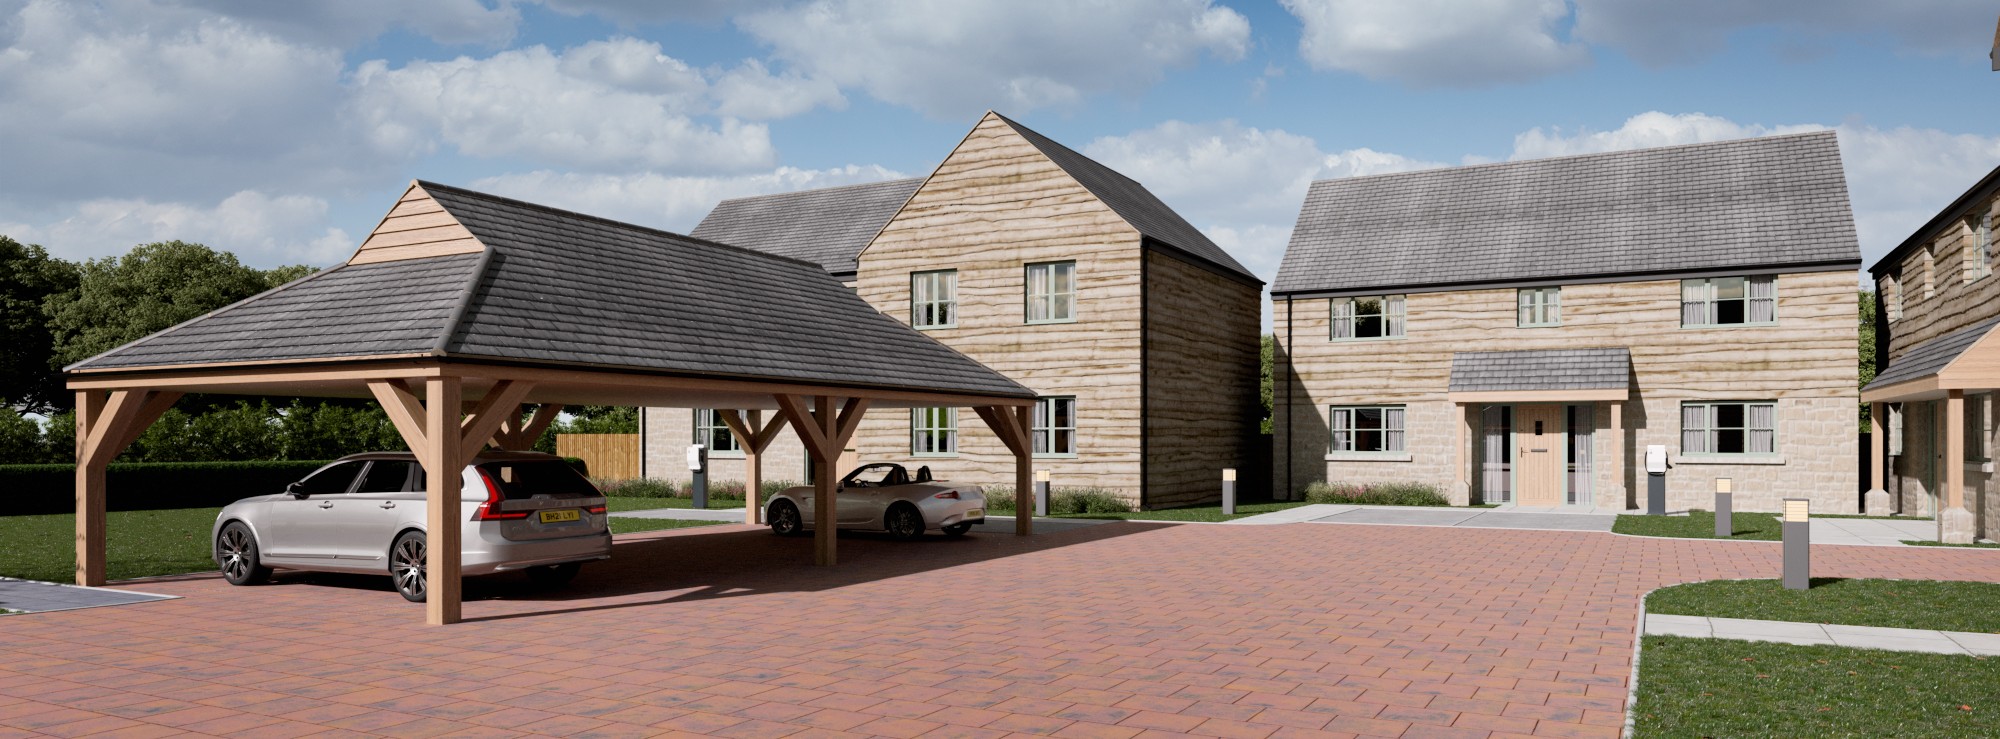
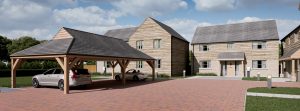
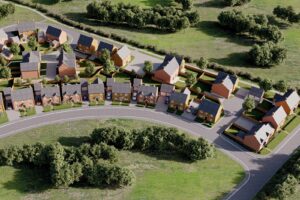
The client defines what the main focus of static architectural visualisation will be. It always depends on your aim: for example, your company designs luxury apartments and you would like to get a external 3D rendering . The accent will be on the apartment building, while other external elements and angles will highlight style and shape the best way possible. Our CGI artists make thorough research to help you polish the concept of the photorealistic render, from building materials to street furniture and light sources.

Step 3. Planning the Scene
Your idea starts to become reality. In order to create static architectural visualisation with elements of 3D modelling, we start from a 2D plan which shows a scheme in situ. It includes all the main details like objects in the room, door and/or window and so on. On the plan you see either the exact angle of 3D rendering image or view from above.
Step 4. Setting the 3D Structure
Now we switch into 3D for the first time! The task on this stage is to draw a “scenery model” for future 3D rendering. The structure created by our specialists will show the room as it is – with walls, windows, doors, furniture. The basics are now complete, let’s add more detail.

Step 5. Accessories Design, Texture & Lightning
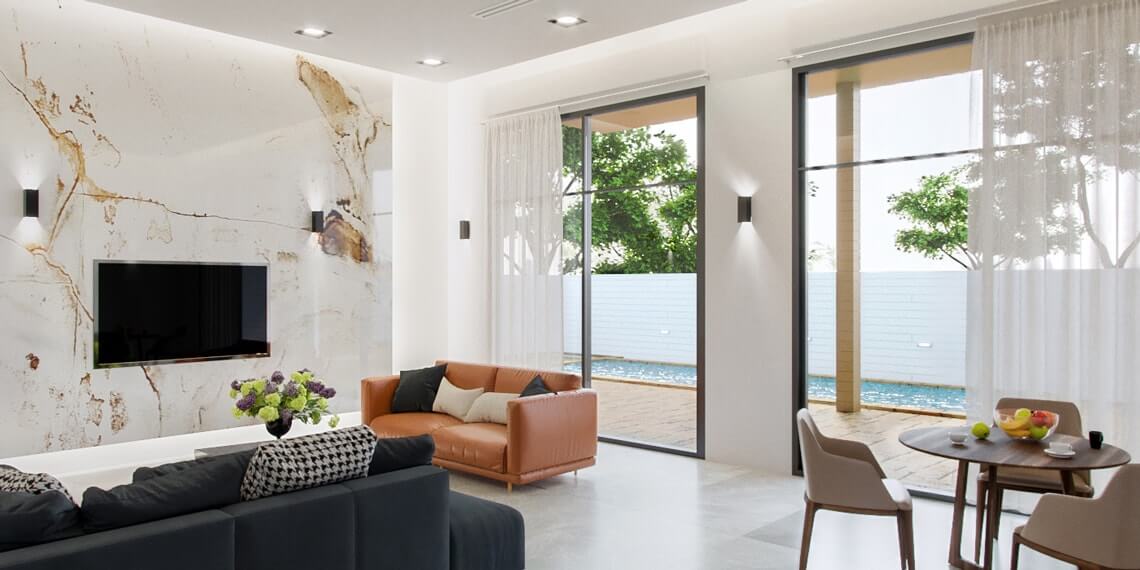
3D modeling of furniture and other objects, as well as drawing their structure happens on this step. Internal renders finally see armchairs, sofas , lamps, floor, walls in photorealistic quality – it requires attentive work of our designers.
But what element lifts the level of realism to maximum? Light! As creating a CGI is very close to art, it’s no surprise that we use the trick pioneered by Leonardo da Vinci and Michelangelo – adding up-light to enliven the image.
Step 6. Angle & Day Time
The render already looks almost true-to-life, but the devil is in the detail: the key to perfect static architectural visualisation is getting the right angle. It allows you to draw attention to the area or object you’d like to accentuate. As for the day time, it is crucial for previous step – whether it’s day, night or something in the middle, it affects the illumination and level of “realness” on the 3D rendered image.

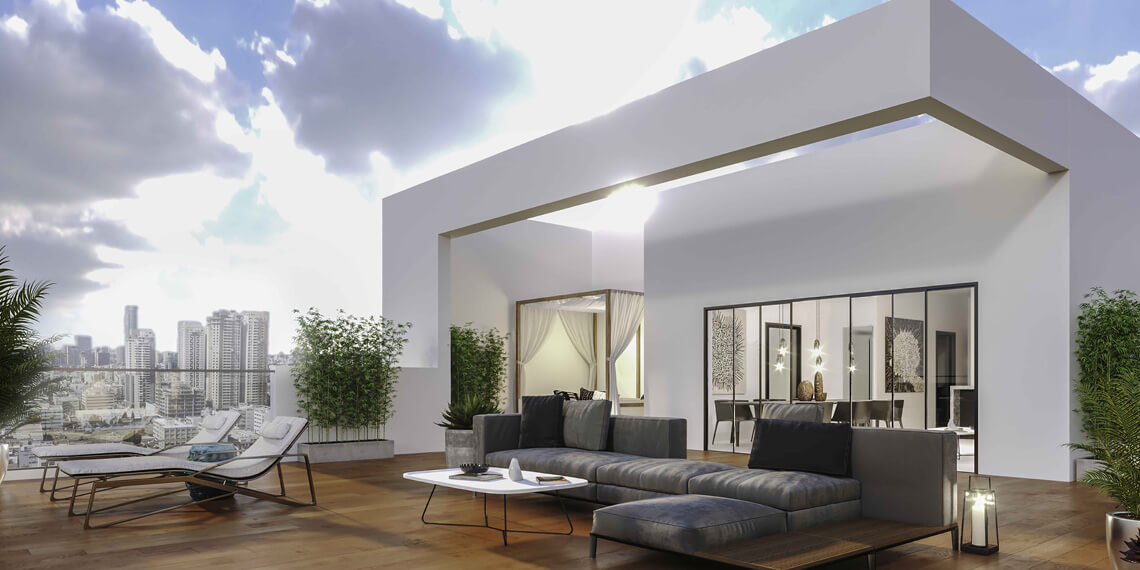
Step 7. Final Tuning and Rendering
It’s time to polish the CGI visualisation rendering that is almost complete. We conduct the final step in Photoshop: here our designers add reflection, glossiness and other elements that enhance a photorealistic quality render from less detailed one. The result is always worth the effort – an aesthetically pleasant and top-quality picture ready to be shown to clients, planners or wider audiences on your website, catalogue or social media.
OUTCOMES
We start with the aim of working with clients repeatedly over the long term. We believe providing an accessible, friendly, professional and cost effective, high quality CGI Visualisation helps us achieve this goal.
We are always open to your ideas and are ready to offer creative solutions for your business, be it interior/exterior visualisation, an amazing VR Tour around property, marketing video.
Feel free to contact us if you feel you need a CGI studio with top-quality service and competitive prices.